The power of a unified front: Why a uniform matters
Picture the scene: a bustling medieval faire, the air thick with the scent of woodsmoke and roasted meat. Amidst the crowd of individual costumes, a group of knights emerges. They move as one, their white surcoats emblazoned with the same bold, red cross, the sun glinting off a line of identical great helms. The impact is immediate, powerful, and unforgettable. This is the power of a uniform.

For a knightly reenactment group, creating a cohesive look is about more than just looking good. It’s a declaration of identity, a visual representation of your shared passion and dedication. A uniform transforms a collection of individuals into a legendary order, a brotherhood (or sisterhood) bound by a common purpose. It enhances historical immersion not only for your members but for every spectator who witnesses your charge on the reenactment field. It fosters a deep sense of camaraderie and makes your group instantly recognizable, carving out your unique legend in the vibrant tapestry of the reenactment community.

The Knights Templar, perhaps more than any other order, understood this. Their simple yet iconic attire—the white mantle for the knights, the black or brown for the sergeants—was a symbol of their piety, their martial prowess, and their unified strength. By following in this tradition, your group can unveil its own legend in every stitch.
Step 1: Forging your identity through research
Before a single piece of fabric is cut or a rivet is hammered, you must lay the cornerstone of your group’s identity: research. A well-defined historical context is the foundation upon which your entire uniform will be built. It provides the answers to every future question about kit, from the type of helmet to the cut of a tunic.
Choose your historical inspiration
First, decide on the core concept of your group. Are you aiming for a precise historical representation of a specific order, like the Knights Templar during the Third Crusade? Or perhaps the Teutonic Knights in the Baltic? Alternatively, you might choose to create a fictional order that is heavily inspired by historical principles. A fictional approach allows for more creative freedom but should still be grounded in the material culture of a specific time and place to maintain believability. A group portraying a fictional “Order of the Silver Griffin” based in 13th-century England will have a very different look from one based in 12th-century Outremer.
Dive into the primary sources
Your best friends in this stage are historical sources. Look at illuminated manuscripts like the Maciejowski Bible (Morgan Bible) for detailed depictions of soldiers and knights in action. Study effigies on tombs, which often show a knight’s full harness in incredible detail. Read contemporary chronicles and, if possible, the actual rules of historical orders. The Latin Rule of the Knights Templar, for instance, contains specific injunctions about their clothing, dictating its color and simplicity. This level of research prevents your group from falling into common Hollywood-inspired tropes and lends an air of authority to your presentation.
Establish your group’s ‘canon’
Once your research is complete, create a simple document for your group. This “kit guide” or “canon” should clearly outline your chosen time period, geographical region, and core visual elements. It will serve as a definitive reference for all members, new and old, ensuring consistency and preventing “kit drift” where members slowly incorporate anachronistic or mismatched items. This document is the charter of your group’s visual identity.
Step 2: The core garments, the fabric of your order
The soft kit, or core garments worn under the armor, is the true foundation of your uniform. While armor is impressive, it’s these fabric layers that provide the consistent silhouette and color palette for your group.
The base layers: Braies and tunic
Start from the skin out. While not always visible, standardizing undergarments like linen braies (trousers) and a basic undertunic (cotte) is a mark of a truly dedicated group. The most important visible layer is the main tunic. Your group should agree on a specific cut, color, and material. For most of the High Middle Ages, a simple T-tunic style is appropriate. Wool is the most historically accurate primary material, with linen as a lighter alternative for undertunics or summer events. Agreeing on a single dye lot or a narrow range of acceptable colors (e.g., “a dark, natural wool brown”) will instantly unify your members.
The surcoat: Your heraldic canvas
The surcoat (or tabard) is arguably the single most important unifying garment. Worn over the mail, this is where your group’s heraldry is displayed. For a Templar-inspired group, this is the iconic white, sleeveless surcoat featuring the croix pattée. Key decisions for your group include:
- Material: Wool is the most common and robust choice. A linen-wool blend can offer a good drape, but avoid pure cotton for a more authentic look and feel.
- Construction: Decide on the length (typically knee to mid-calf) and whether the sides will be sewn up or left open. The latter was common to allow for ease of movement on horseback.
- Heraldry: How will the symbol be applied? Appliqué, where the design is cut from a different colored fabric and sewn on, offers a durable and high-quality finish. Fabric paint is a more budget-friendly option but can crack and fade over time. Ensure every member uses the same template for the size and placement of the cross or symbol.
The mantle: A symbol of ceremony
For ceremonial occasions or colder weather, a mantle or cloak adds a dramatic and regal layer. The Templar knights’ white wool mantle was a key part of their identity, distinct from their battle surcoat. Your group should decide if a mantle is part of your standard kit and, if so, standardize its color, material (heavy wool is best), and the design of its heraldic cross on the shoulder.
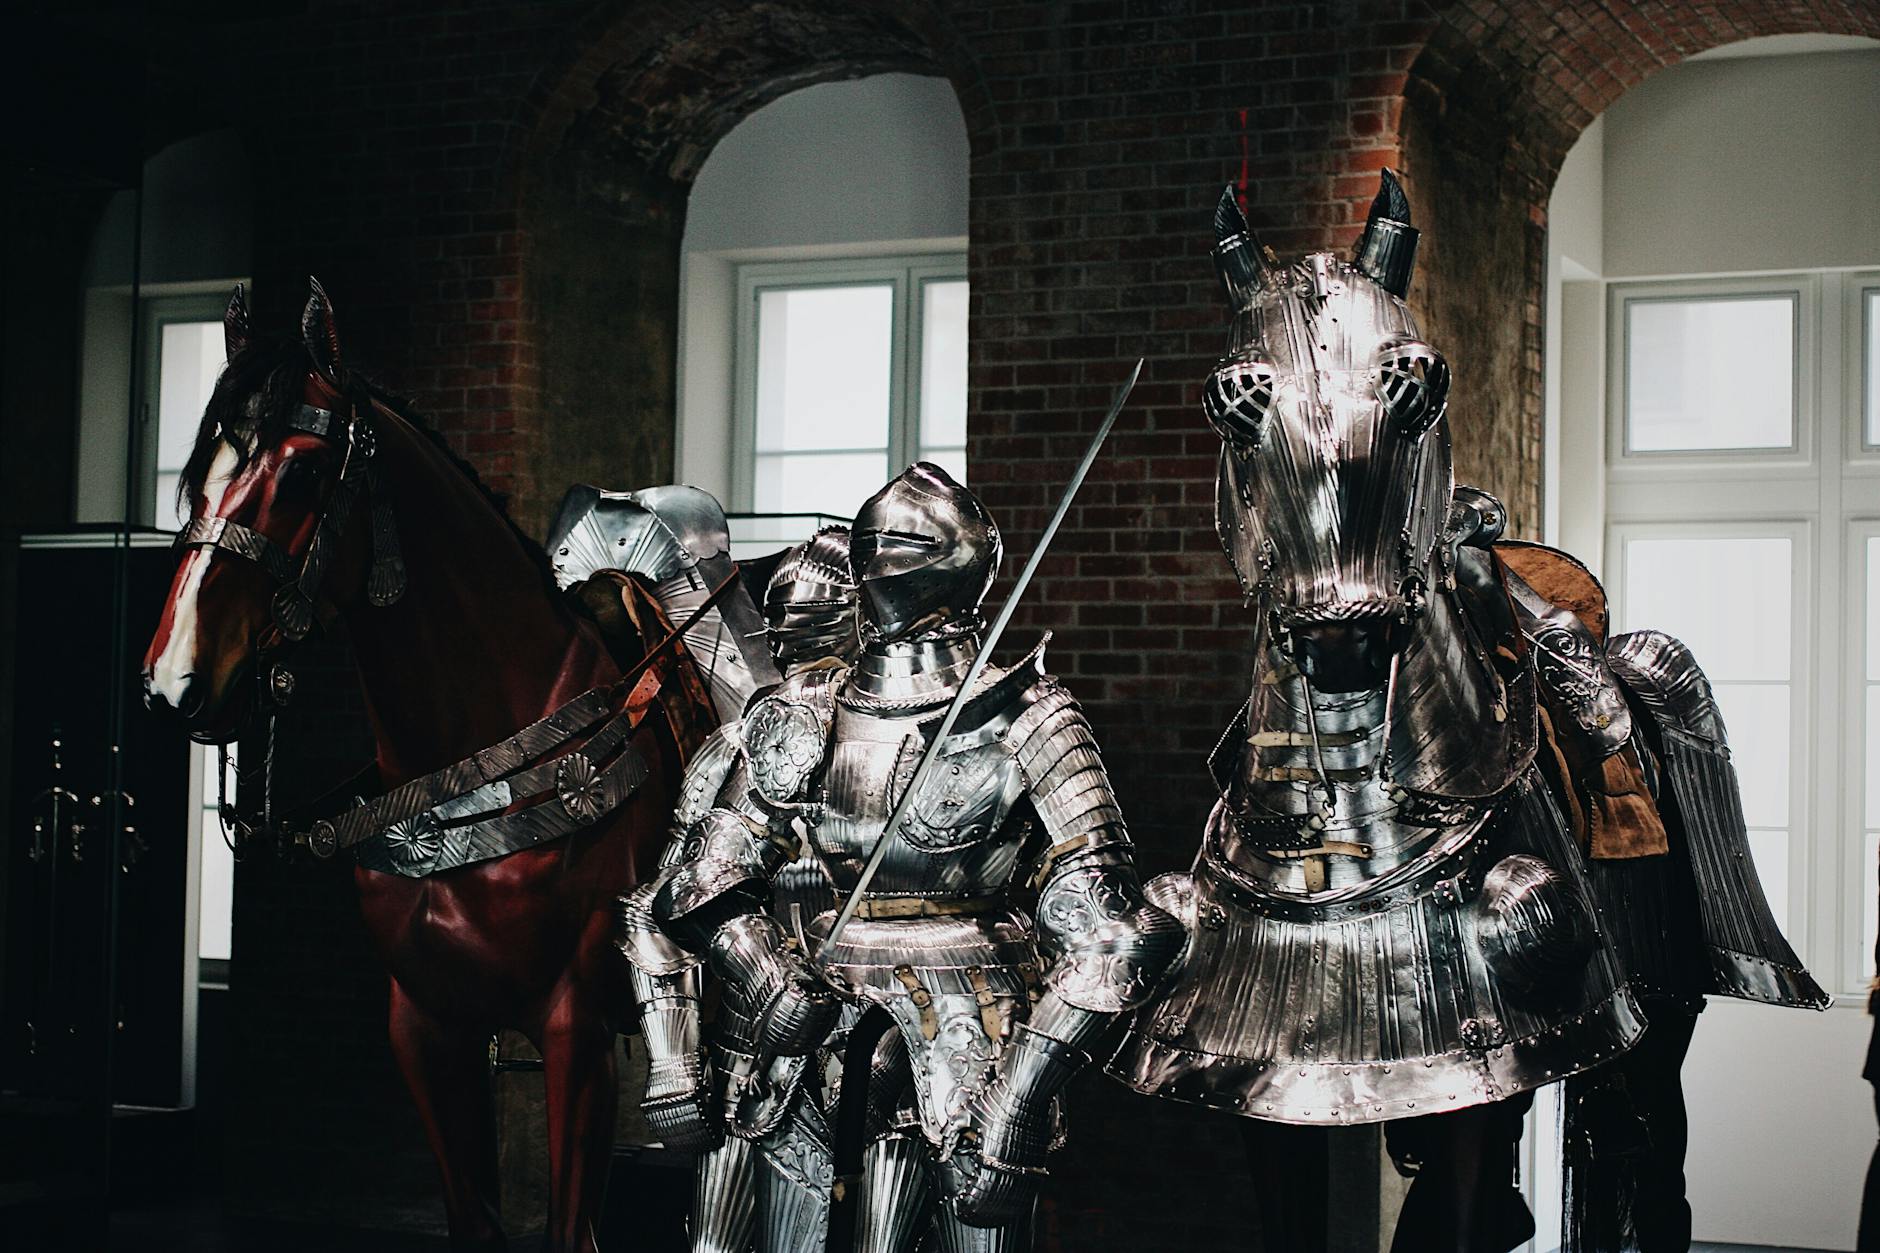
Step 3: The steel shell, standardizing your armor
Armor is often the most expensive and varied part of a reenactor’s kit. While allowing for some personal variation is practical, establishing clear guidelines for the key components of the harness is essential for a unified military appearance.
The gambeson: The unsung hero
Beneath every coat of mail is a padded gambeson or arming doublet. This garment is crucial for comfort and shock absorption. It is also highly visible at the neck, wrists, and hem. Your group should standardize the color and, if possible, the construction style of the gambeson. A line of knights all wearing matching gambesons beneath their mail looks far more uniform than a mix of dozens of different colors and styles.
Chainmail: The heart of the harness
Chainmail (or mail) was the primary body defense for centuries. Your group needs to set a standard for its members. Will you require a full-sleeved hauberk that reaches the knees, or is a shorter, half-sleeve haubergeon acceptable? Will a mail coif (hood) be integrated or separate? You should also discuss the type of mail. While historically accurate riveted mail is the gold standard, it can be expensive. Allowing for less-expensive butted mail can be a good compromise for new members, with the expectation they will upgrade over time.
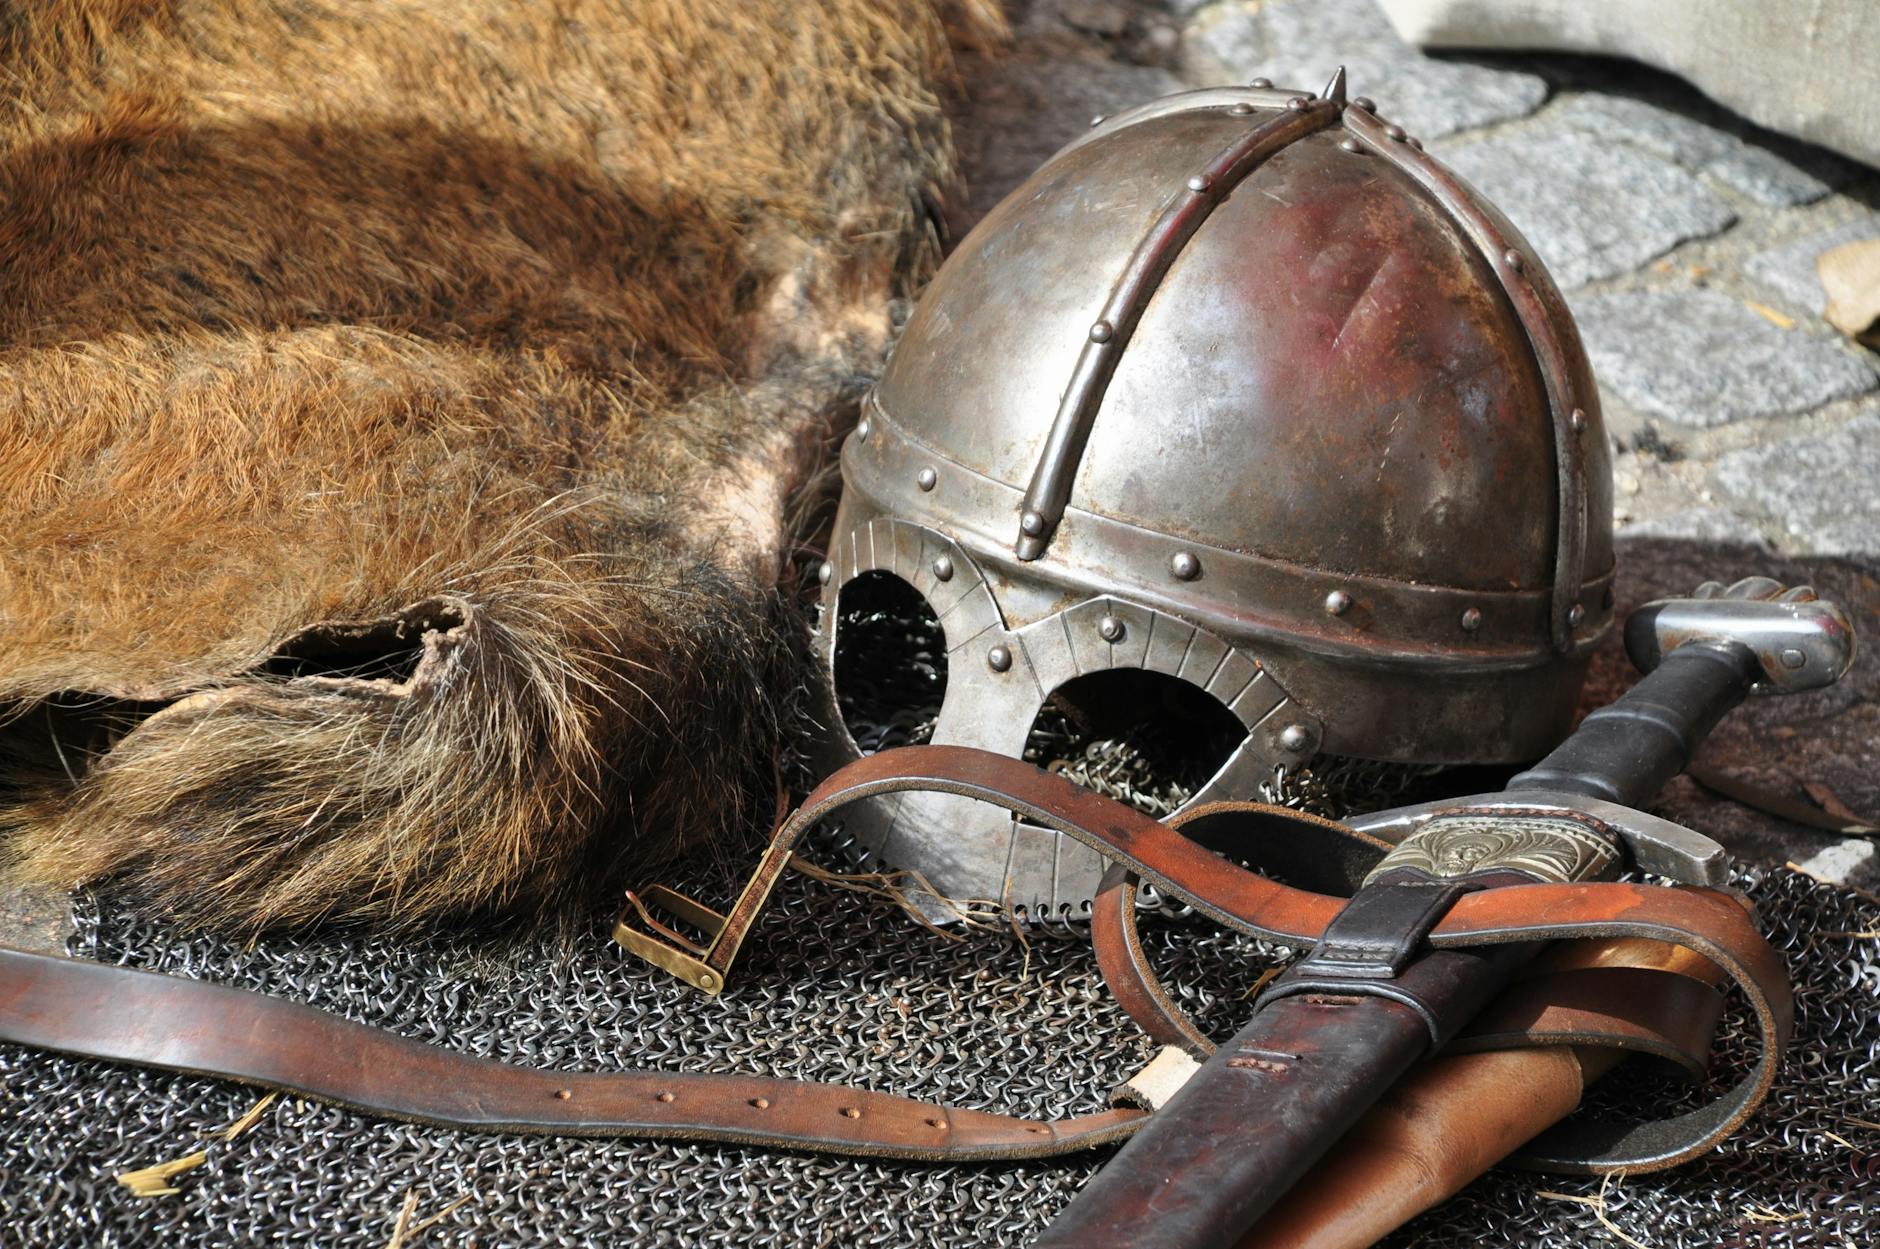
The helmet: The face of your order
No single piece of armor defines an era—or a group—more than the helmet. Your kit guide should specify a narrow range of acceptable helmet types for your chosen period. For a mid-13th century Templar group, this would likely be the flat-topped great helm or early forms of the sugarloaf helm. Allowing for a few period-appropriate variations can add character, but a free-for-all of different styles will shatter the uniform look. A line of great helms presents a terrifyingly anonymous and unified front, exactly as it was intended to.
Step 4: Arms and accoutrements, the devil in the details
With the major components decided, it’s the small, shared details that will elevate your group’s impression from good to legendary.
The sword belt and shield
While sword types may vary, the belt from which it hangs is a prime opportunity for uniformity. Specify a simple, period-appropriate style—for example, a long leather belt with a simple brass buckle, tied in a knot. The shield is another massive canvas for group identity. Decide on a single shield shape appropriate for your period (e.g., the flat-topped heater shield of the 13th century). Then, mandate a uniform design. This could be a single, bold heraldic charge or a simple, quartered pattern in your group’s colors. When your shield wall forms, the effect will be breathtaking.
Pouches, daggers, and other accessories
Encourage simplicity and uniformity in accessories. A simple leather belt pouch, a basic rondel or quillon dagger, and plain leather turnshoes will look far better as a group than a mishmash of fantasy-inspired or overly ornate items. Remember, military orders like the Templars valued pious austerity over individual ostentation.
From vision to reality: Practical tips for your group
Having a plan is one thing; executing it is another. To make the process smoother, create that detailed kit guide we mentioned earlier. Include reference pictures, links to approved vendors, and even sewing patterns for DIY-inclined members. Consider bulk buying materials like wool or linen to ensure color consistency and reduce costs. You could also organize group commissions with trusted artisans for items like helmets or surcoats. Finally, be patient. Allow new members to build their kit in phases, starting with the most crucial unifying elements like the surcoat and tunic, and working their way up to the full harness. A journey to a perfect impression is a marathon, not a sprint.
By investing the time in research and planning, your reenactment group can create a uniform that is more than just a costume. It becomes a symbol of your shared knowledge, your dedication to history, and the strong bonds of your brotherhood. It is the banner under which you march, the very legend you bring to life in every stitch and every plate of steel.


