In an age of fleeting digital messages, the wax seal stands as a powerful symbol of permanence and authority. For the Knights Templar, a seal was more than just a way to close a letter; it was an extension of their identity, a mark of authenticity on orders, treaties, and correspondence that shaped the course of history. The iconic image of two knights sharing a single horse, a testament to their vow of poverty and brotherhood, was pressed into wax on documents across Christendom. Today, the art of creating a personal seal is not lost. It is a tangible way to connect with the past and forge your own mark. This guide will walk you through the ancient craft of engraving your own Templar-inspired wax seal, step by step, transforming a simple piece of brass into a personal emblem worthy of the Order itself.
Echoes of history: the significance of the Templar seal
Before a single tool is lifted, one must understand the weight and meaning behind the mark they wish to create. For the Poor Fellow-Soldiers of Christ and of the Temple of Solomon, seals were a necessity. As a multinational organization with immense power, wealth, and influence, their ability to communicate securely and verify documents was paramount. A broken seal on a letter from the Grand Master could mean the message had been compromised, potentially jeopardizing a military campaign or a sensitive financial transaction. The seal was, in essence, the medieval equivalent of a cryptographic signature.


The most famous seal, the Sigillum Militum Xpisti (Seal of the Soldiers of Christ), depicted two knights on one horse. This powerful image is often interpreted in several ways. Primarily, it symbolized the Order’s initial vow of poverty, suggesting that the knights were so poor they could only afford a single mount between them. It also represented the dual nature of the Templar—a monk and a warrior—and the profound brotherhood that bound them together. This was not a seal of an individual, but of a collective, a visual declaration of unity and shared purpose.
However, this was not their only seal. Another significant design was the Agnus Dei, or Lamb of God, often shown holding a banner emblazoned with the red cross. This symbol, representing Christ’s sacrifice, highlighted the Order’s spiritual mission as devout defenders of the faith. Different provinces and high-ranking officials also had their own seals. The Grand Master of England, for instance, used a seal featuring the Al-Aqsa Mosque, believed to be the site of the Temple of Solomon from which the Templars took their name. These symbols weren’t arbitrary decorations; they were a complex visual language, communicating identity, authority, and faith. When you embark on creating your own seal, consider what you wish to communicate. Is it strength, faith, heritage, or a personal code? Your design is the first chapter of its story.
Assembling your armory: tools and materials for engraving
Every craftsman, like every knight, requires the proper tools for their trade. Engraving a seal by hand is a deliberate and rewarding process, and having the right equipment will make the journey smoother and the result more professional. While the initial list may seem daunting, many of these tools are a one-time investment that will serve you for countless projects. Consider this your personal armory for the craft.
Essential Tools:
- Engraving Gravers (Burins): These are the heart of your toolkit. They are hardened steel tools with specially shaped tips for cutting into metal. For a beginner, two or three are sufficient. A ‘V-gouge’ or ‘lozenge’ graver is excellent for creating sharp lines and outlines. A ‘U-gouge’ or ’round’ graver is better for clearing out larger areas of material. Ensure they are sharp; a dull tool will skid and lead to frustration.
- Seal Blank: This is the piece of metal you will engrave. Brass is the ideal choice for beginners. It’s relatively soft and easy to cut, yet durable enough to create thousands of crisp impressions. These are readily available online and often come pre-mounted on a wooden handle.
- Bench Vise or Clamp: You cannot engrave effectively while trying to hold the seal blank. A small bench vise or a sturdy G-clamp secured to a workbench is non-negotiable. It will hold your work steady, freeing both hands to guide the tool with precision and force.
- Safety Goggles: Tiny shards of metal can and will fly off during engraving. Protecting your eyes is the most important rule of any workshop.
- Design & Transfer Tools: You’ll need a pencil and paper for sketching your design. To transfer it to the seal blank, carbon paper is a simple and effective method. Simply place it between your drawing and the brass and trace over the lines.
- Sharpening Stone: A fine-grit sharpening stone or ‘Arkansas stone’ is vital for maintaining the edge on your gravers. A sharp tool cuts cleanly and requires less force, giving you more control.
Essential Materials:
- Sealing Wax: The purpose of your entire endeavor! Modern sealing wax comes in two main types. Traditional wax is brittle and will break when the letter is opened, ensuring the seal’s integrity. Modern ‘flexible’ wax has plastic polymers mixed in, making it durable enough to survive the postal system. It’s wise to have both on hand.
- Practice Metal: Before you touch your final seal blank, get a small, inexpensive sheet of brass or copper to practice on. Use it to get a feel for how the gravers cut and how much pressure is needed. This will build your confidence immeasurably.
- Polishing Supplies: A piece of very fine-grit sandpaper (1000 grit or higher) and a small amount of metal polish will be needed at the end to give your seal a clean, professional finish.
Gathering these items is the first physical step on your journey. Lay them out, understand their purpose, and prepare your workspace. A well-organized armory is the foundation of a successful campaign.
The craftsman’s path: your step-by-step engraving guide
With your tools assembled and your mind steeped in the history of the craft, it is time to begin. Remember the words of Bernard de Clairvaux, who helped write the Latin Rule for the Order: work with patience and purpose. This is a skill of inches, not miles. Go slowly, be deliberate, and the metal will yield to your vision.
Step 1: The Design Imperative
Your first task is to decide on a design. For a first attempt, simplicity is your ally. Consider a classic Templar cross pattée, a simple monogram of your initials in a Gothic font, or a stylized shield. Sketch your design on paper until you are satisfied. Now for the most critical rule of seal engraving: your design must be a mirror image. Everything you carve will be reversed in the final wax impression. Write a word and hold it up to a mirror—that is how you must draw it on your seal blank. Forgetting this step is a common and heartbreaking mistake for beginners.
Step 2: Transferring Your Mark
Once you have your mirrored design finalized, it’s time to transfer it onto the face of the brass seal blank. You can gently sand the surface of the blank with fine sandpaper to give it a ‘tooth’ that will hold the pencil lines better. Cut a small piece of carbon paper to size, place it carbon-side down on the brass, place your drawing on top, and carefully trace over the lines with a firm pencil. When you remove the paper, a clear outline of your design should remain on the metal.
Step 3: The First Cut
Secure the seal blank firmly in your vise. Select your V-gouge graver for the outlines. The grip is key: hold the wooden handle in your palm, with your index finger extended along the top of the steel shank. Your thumb and other fingers guide the tool from the side. The power comes from your shoulder and core, not your wrist. Place the tip of the graver on a line, lower the handle until the tool is at a shallow angle to the metal, and push forward with steady, even pressure. Don’t try to carve the full depth in one pass. Your goal here is to simply scribe the main outlines of your design into the metal. Follow all the lines of your design, creating a shallow but clear map for the rest of your work.
Step 4: Shaping the Depths
With the outlines established, you can now switch to your U-gouge or use the V-gouge to begin removing more material. This is where your design comes to life. Slowly deepen and widen the cuts. Remember that the areas you carve away will be the raised parts of the final wax impression. The untouched, flat surface of the seal will be the background. Work methodically, clearing out small shavings of brass. Rotate the vise as needed to approach cuts from the most comfortable angle. Take frequent breaks to rest your hands and eyes. This is the longest part of the process; embrace the meditative rhythm of the work.
Step 5: The Final Polish
Once you are satisfied with the depth and clarity of your engraving, it’s time for finishing. Take your fine-grit sandpaper and wrap it around a small, flat block of wood. Gently polish the face of the seal in a circular motion. This will remove any minor scratches on the flat surface without affecting your engraved lines. The goal is to create a smooth, mirror-like surface that will release the wax cleanly. A final buff with a soft cloth and a dab of metal polish will make it gleam.
Step 6: Trial by Fire and Wax
This is the moment of truth. Light your sealing wax and allow a small pool to drip onto a piece of parchment. Let it cool for about 10-15 seconds, then press your newly carved seal firmly into the center. Hold it for a few seconds, then lift it straight up. The result is your reward: a crisp, clear impression of your own design. You have successfully forged your mark. Don’t be discouraged if the first few impressions aren’t perfect. If the wax sticks, the seal may be too hot or you may need to apply a tiny amount of oil (or even just moisture from your breath) to the seal face before pressing. If the details are blurry, you may need to go back and deepen or clean up your cuts. Each impression teaches you something new.
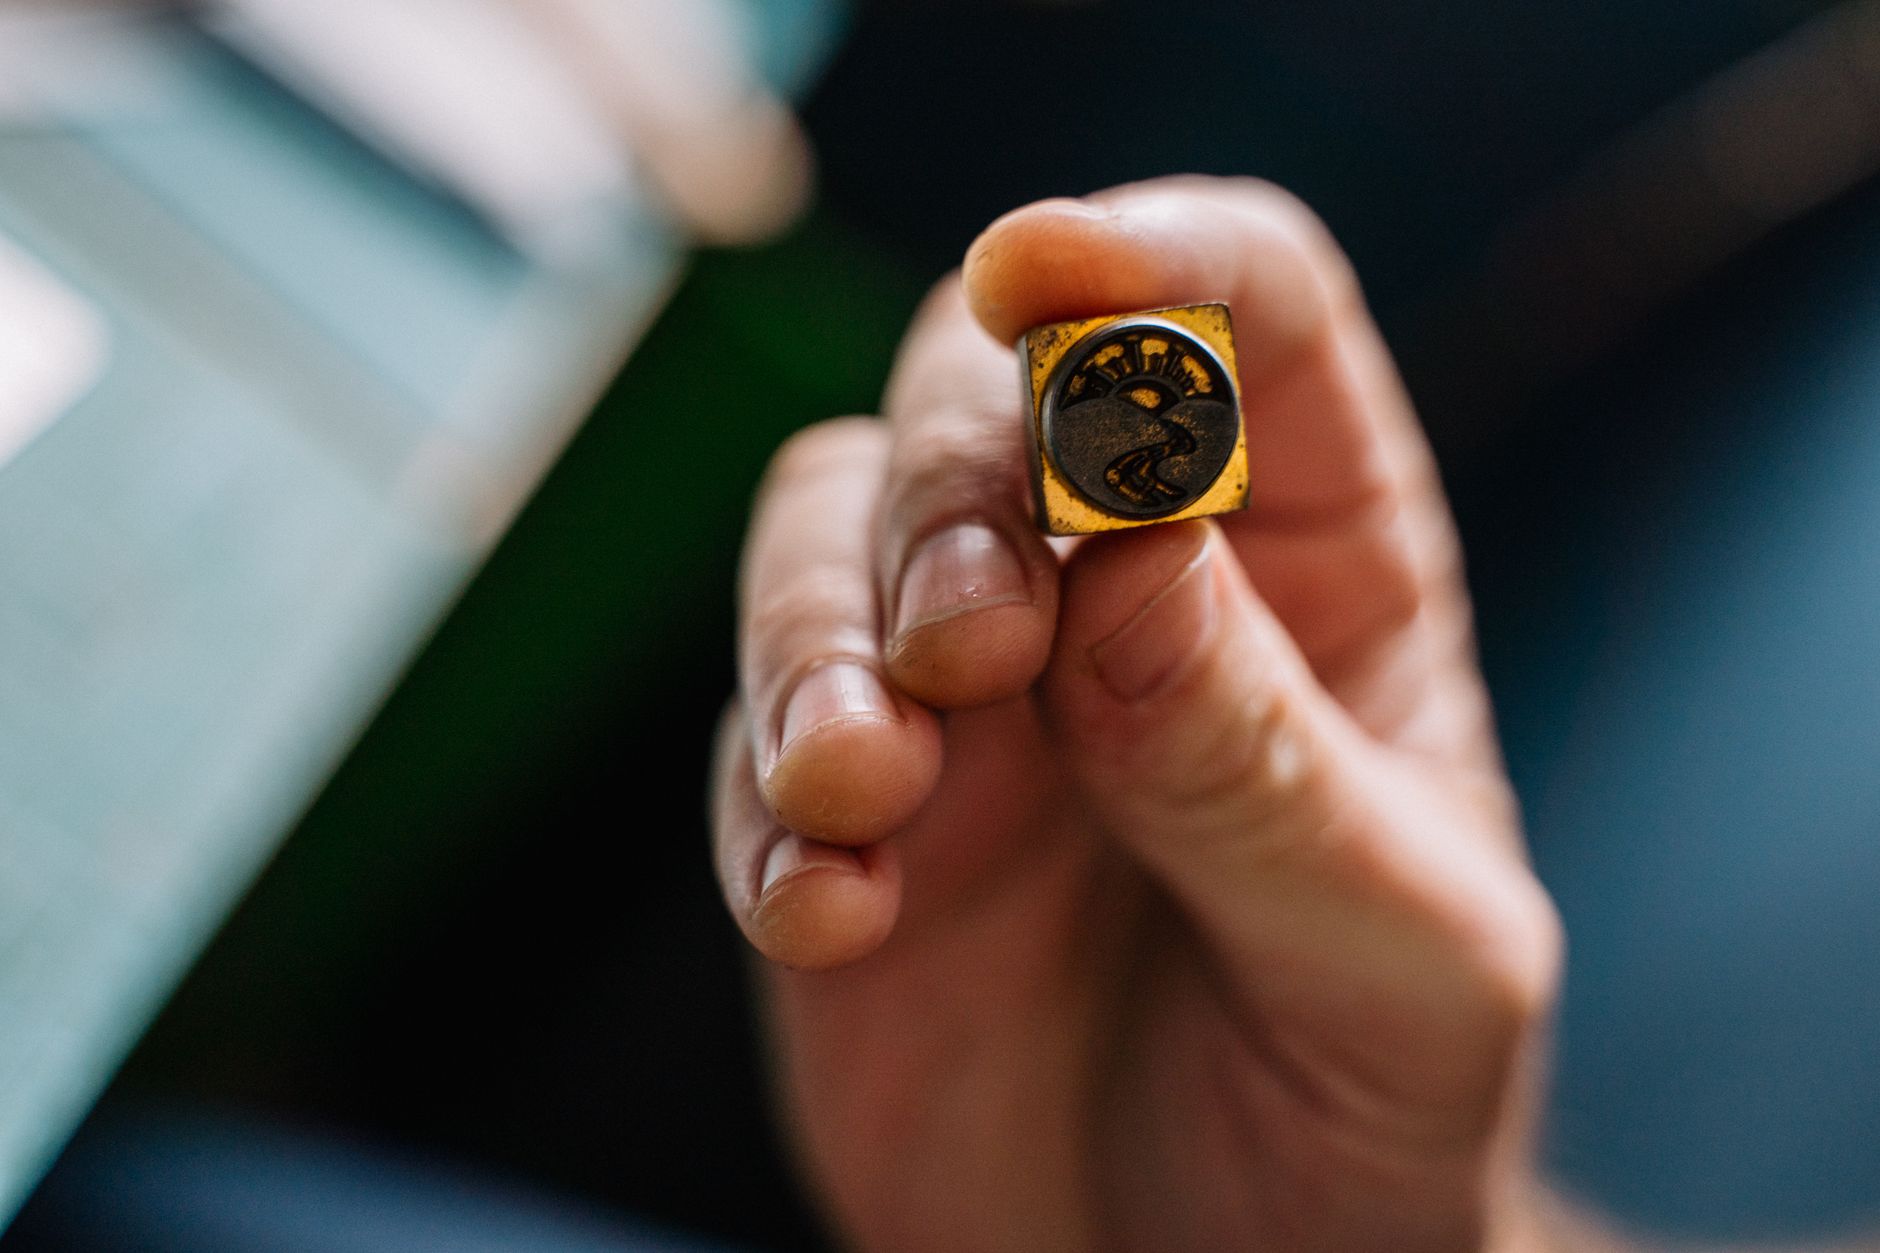
You have now walked the path of the craftsman, using tools and techniques that have changed little in centuries. The seal in your hand is more than an object; it is a link to a tradition of identity, authority, and history. It is a testament to your patience and a mark that is uniquely yours. Use it to seal letters, authenticate your projects, or simply as a reminder of the enduring legacy of the Knights Templar and your own ability to create a piece of it.


