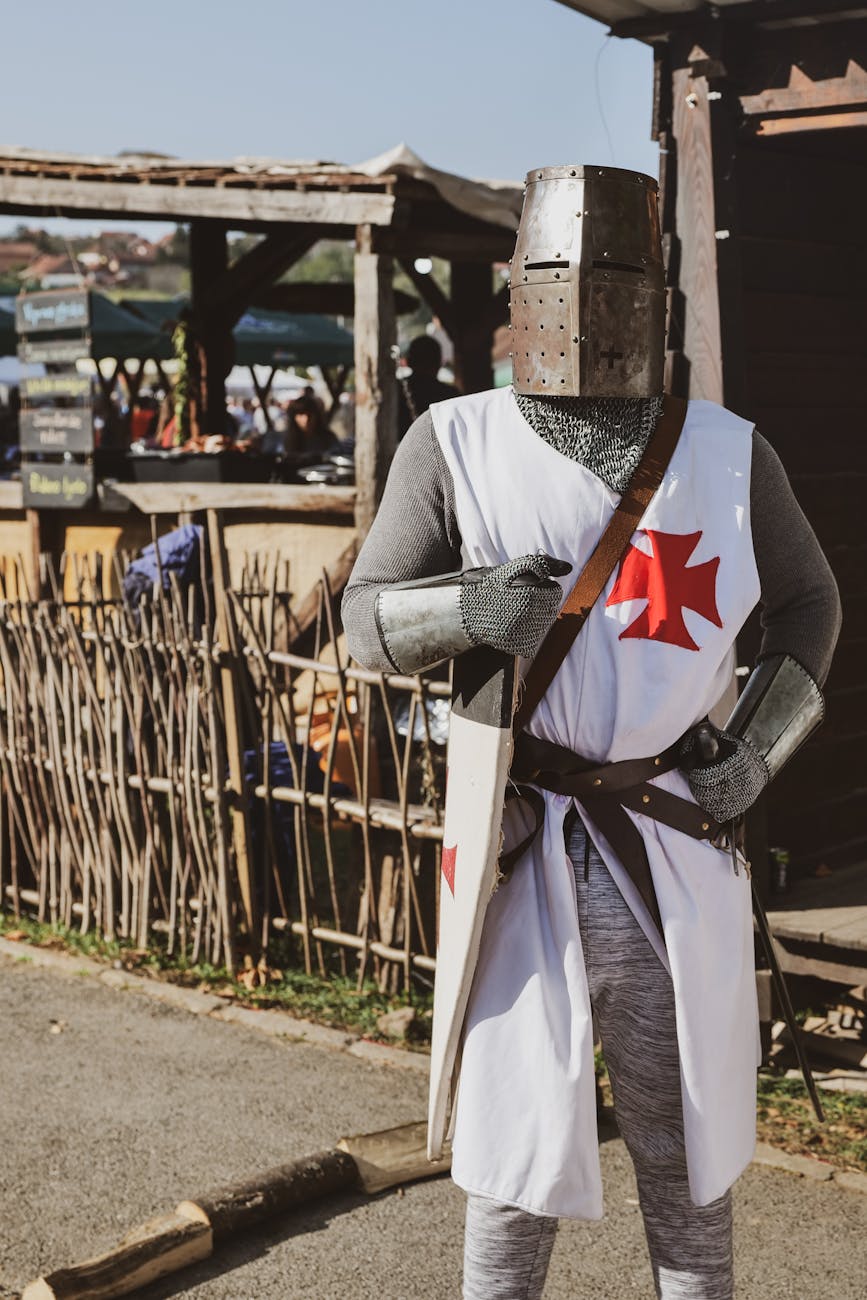
In the age of the Crusades, a knight’s tunic and mantle were more than mere clothing; they were a declaration of identity, faith, and allegiance. The bold red cross of the Knights Templar was an unmistakable symbol, a piece of heraldry that communicated a warrior’s purpose. Today, we continue this tradition of personal expression, not with painted shields, but with the intricate artistry of enamel pins. These small metal emblems allow us to customize our modern and historical gear, adding a personal touch that speaks to our passion for the past. But simply pushing a pin through fabric isn’t always enough. For a truly secure and lasting embellishment on a heavy wool mantle or a sturdy linen tunic, the ancient art of needle and thread is your greatest ally. This guide is your map, a step-by-step tutorial for any novice looking to permanently affix their favorite Templar pins, transforming a simple garment into a personalized piece of history.
Preparing your armoury: gathering your tools and materials
Before you embark on any worthy quest, you must first gather your supplies. Just as a knight would inspect his sword and shield, you must prepare your toolkit to ensure your stitching is strong and true. This is not a complex or costly endeavor; most of the items you’ll need are likely already in a basic sewing kit. The key is choosing the right tool for the job to ensure your pin remains securely fastened, whether you’re at a reenactment, a renaissance faire, or simply displaying your garb.

Your essential toolkit
- The Enamel Pin: The centerpiece of your project. Choose a high-quality pin with one or two sturdy posts on the back. For this tutorial, we are focusing on pins with traditional metal or rubber clutches, as we will be removing them and stitching the posts directly.
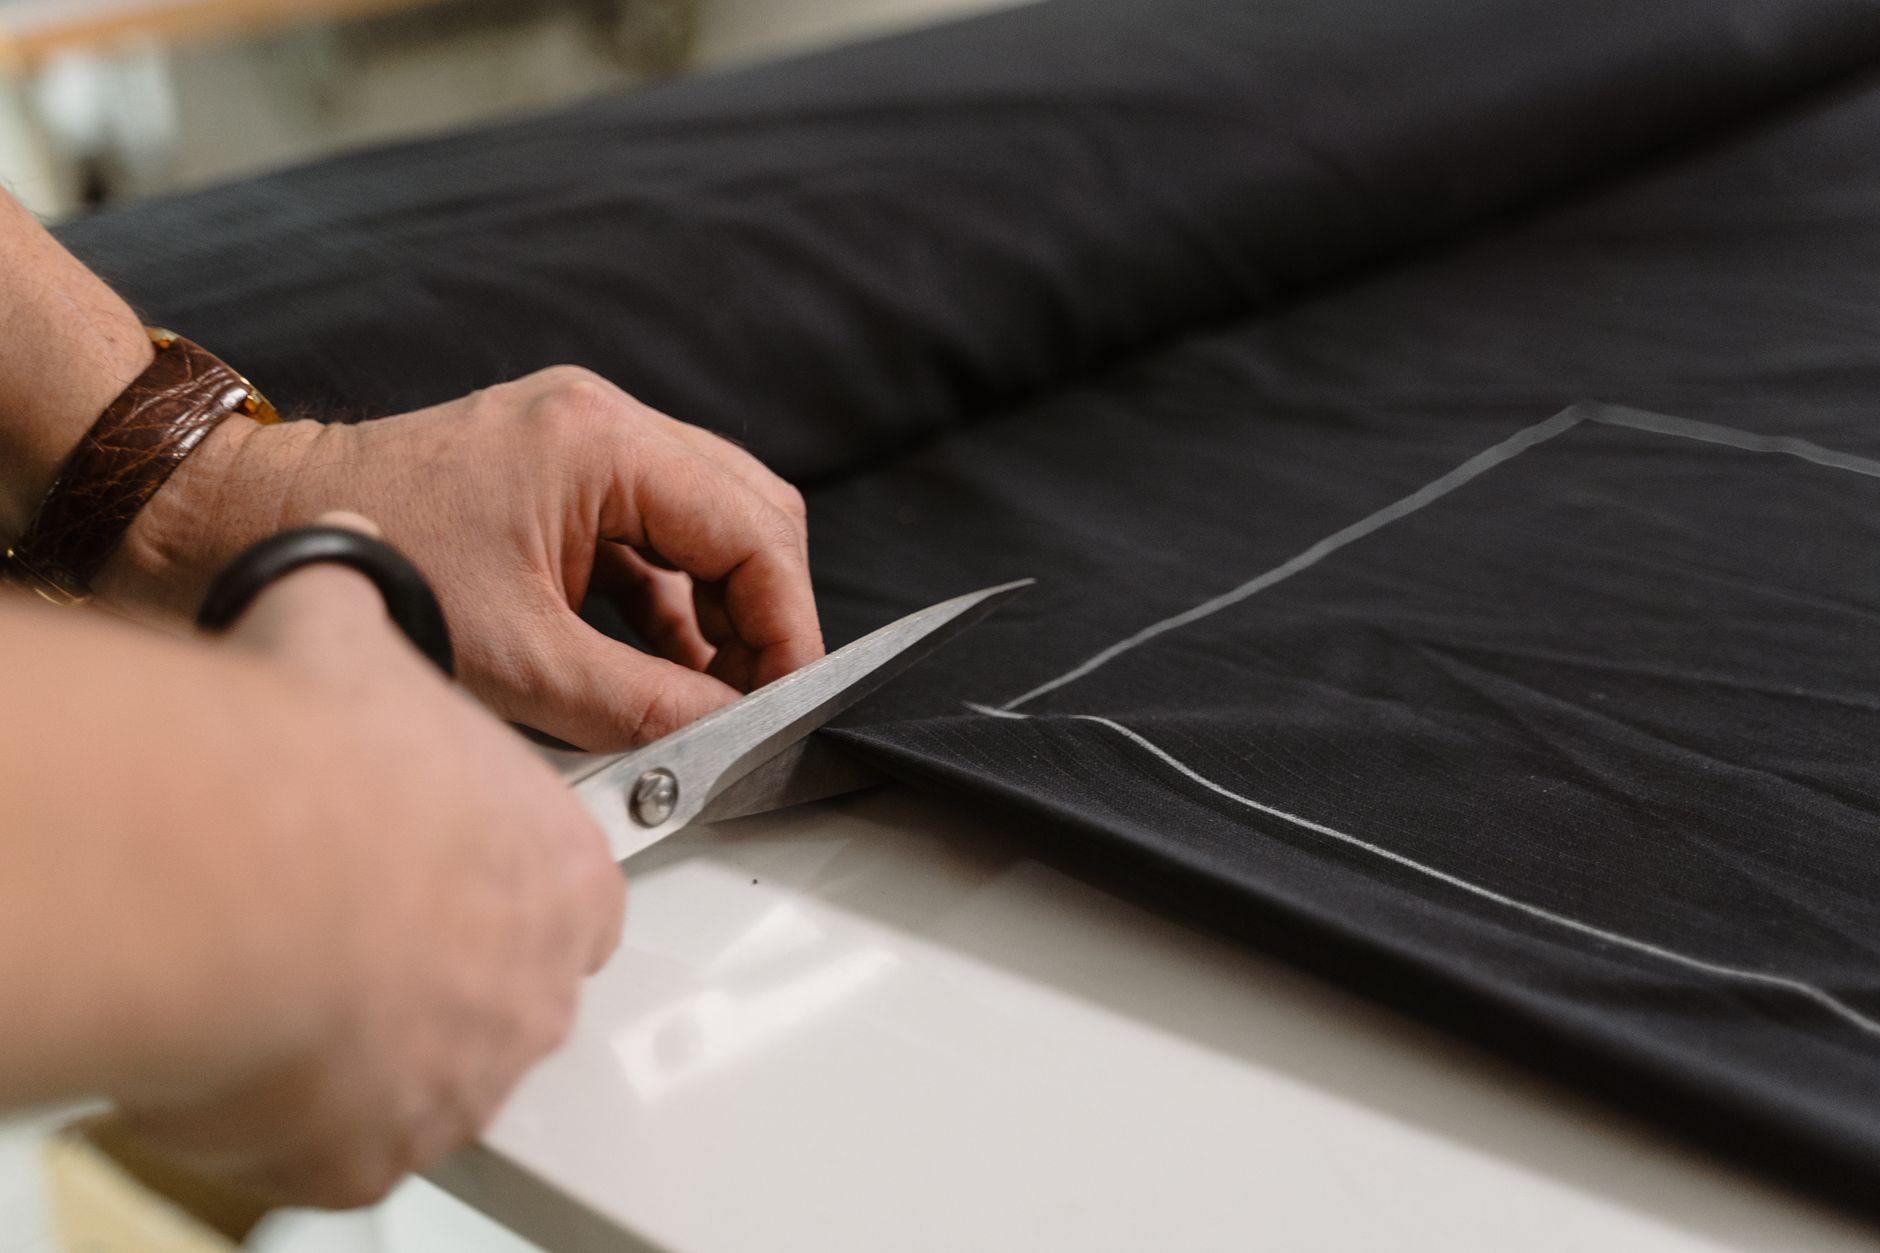
- The Garment: This could be a Templar tunic, a woolen mantle, a canvas bag, or even a modern denim jacket. The thickness and weave of the fabric will influence your choice of needle and thread.
- Thread: This is your most critical component. Avoid standard, thin sewing thread. Opt for something with strength, such as upholstery thread, embroidery floss (using all six strands), or a button craft thread. The color should either match your fabric to be invisible or be a contrasting color if you wish the stitches to be a feature. A neutral black, white, or grey is often a safe choice.
- Needles: A sharp, sturdy needle is essential. A standard sewing needle may suffice for linen, but for thicker materials like wool, canvas, or gambeson, a dedicated upholstery needle or a denim needle will make the work much easier. Ensure the eye of the needle is large enough for your chosen heavy-duty thread.
- Thimble (Optional but Recommended): When pushing a needle through thick fabric, a thimble protects your finger from pain and allows you to apply more force safely. It’s a small tool that makes a huge difference.
- Small Scissors: You’ll need a sharp pair of small scissors for trimming your thread neatly.
- Marking Tool: A simple piece of tailor’s chalk or a disappearing ink fabric pen is perfect for marking the exact placement of your pin before you begin sewing.
Choosing the perfect placement

Once your tools are assembled, consider where your pin will live. Placement is about more than just aesthetics; it’s also about function and fabric integrity. For a tunic, a common spot is on the left breast, over the heart. On a mantle, pins look excellent near the collar or as a decorative element near a clasp. Consider the weight of your pin. A larger, heavier pin will need a more structurally sound area of the garment, such as a lapel or a reinforced seam, to prevent the fabric from sagging or pulling over time. Use your marking tool to lightly mark where the pin’s posts will go through the fabric. Hold the pin in place and take a step back. Look at it from a distance to ensure you are happy with the positioning before you make the first stitch.
The stitching ritual: a step-by-step guide to affixing your pin
With your preparations complete, the ritual can begin. This process is methodical and meditative. Take your time, and your stitches will be as unyielding as a Templar’s resolve. We will use a technique similar to sewing on a button, creating a strong thread shank around the pin’s posts that will hold it firmly in place. Forget the flimsy rubber backing; this method is for life.
- Position and Anchor: Remove the clutch back from your pin. Push the post (or posts) through the fabric at your marked spots. Flip the garment over so you are looking at the inside.
- Thread Your Needle: Cut a length of thread about 18-24 inches long. Any longer and it’s likely to tangle. Thread your needle and pull the ends together, doubling the thread. Tie a secure, thick knot at the end.
- The First Stitch: From the inside of the garment, push your needle up through the fabric right next to the base of the pin’s post. Pull the thread all the way through until the knot is snug against the fabric. Now, push the needle back down through the fabric on the opposite side of the post. You have just created your first anchor stitch. Repeat this three to four times, going back and forth, to create a solid foundation.
- The Wrapping Stitch: Now for the most important step. After your last anchor stitch, bring the needle up from the inside of the fabric, right beside the post. Instead of going back down, wrap the thread tightly around the base of the post, just above the fabric. Circle the post with the thread five or six times. This creates a strong “shank” that holds the post securely and allows the pin a little bit of breathing room, preventing fabric strain.
- Secure the Wrap: After wrapping, push the needle back down through the fabric to the inside, right through the thread base you’ve created.
- Repeat for the Second Post: If your pin has a second post, do not cut the thread. Simply run the needle under the fabric to the second post (this is called a traveling stitch) and repeat steps 3, 4, and 5. This ensures the entire pin is secured with a single, continuous piece of thread.
- Tying Off: Once both posts are secure, it’s time to finish. On the inside of the garment, run your needle under your last few stitches. Before pulling the loop tight, pass your needle through the loop twice to create a strong knot. Pull it tight against the fabric. For extra security, do this once more. Trim the excess thread close to the knot with your sharp scissors.
Congratulations. Your pin is now a permanent part of your garment, ready to withstand any pilgrimage or battle you may face. It will not twist, turn, or fall off.
Beyond the basics: reinforcements and long-term care
You have mastered the fundamental technique of stitching an enamel pin. Now, let us advance your knowledge, ensuring your custom creations are not only beautiful but also durable enough to be passed down. These advanced considerations will protect both your pin and your cherished garment for years to come.
Reinforcing the fabric
For particularly heavy pins or more delicate fabrics like thin linen, the weight of the pin can cause the fabric to sag or even tear over time. To prevent this, you can add a simple reinforcement to the inside of the garment. Before you begin stitching, place a small square (about 1×1 inch) of a stabilizer material on the inside of the fabric where the pin will go. Options include:
- Scrap Fabric: A small piece of canvas, denim, or felt works wonders. It distributes the weight of the pin over a larger area.
- Iron-On Interfacing: This is a special material available at fabric stores that you can iron onto the inside of your garment. It adds stiffness and strength without much bulk.
Simply place your chosen reinforcement on the inside of the garment and stitch through both it and the main fabric as you follow the steps above. This small addition provides a massive boost in durability.
Stitching on challenging materials
Not all crusades are fought on linen fields. What if you want to add a pin to a leather belt, a thick wool cloak, or a waxed canvas bag? The principle is the same, but your tools must be upgraded.
- For Leather: Do not try to force a standard needle through leather. You will only break the needle and hurt your hand. Use a specific leather needle, which has a triangular or wedge-shaped point designed to pierce the material cleanly. For very thick leather, you may need a stitching awl to pre-punch the holes before passing your thread through.
- For Thick Wool or Canvas: An upholstery needle or a curved needle is your best friend here. Its strength and shape give you better leverage to push through the dense weave. A sturdy thimble is not optional here; it is essential for driving the needle through the material safely.
Care and maintenance of your embellished garb
A sewn-on pin becomes a permanent part of the garment, which means you must consider it during cleaning. It is always best to hand-wash or spot-clean items with metal embellishments. Submerging the garment in a washing machine can damage the pin’s enamel or plating over time and the pin could snag on other items. If you must wash the item, turn it inside out and place it in a delicates laundry bag. Use a gentle cycle with cold water. Never put a garment with an enamel pin in a high-heat dryer, as it can damage the pin’s finish. Air drying is always the safest path.
By taking these extra steps, you are not just attaching an accessory; you are engaging in a time-honored craft of customization. You are adding a piece of your own story to the fabric, just as knights of old added their heraldry to their surcoats. Your gear is no longer just an item, but a testament to your passion, creativity, and dedication to the legacy of the Templars.


