In an age of fleeting digital messages, there is a profound power in creating something tangible, something with weight and history. Imagine a medieval knight, far from home, rolling a piece of parchment containing a message of dire importance. Before sending it, he melts a pool of dark red wax, pressing his signet ring—perhaps bearing the cross pattée or the two knights on a single horse—into the warm liquid. This was not just a way to close a letter; it was a mark of authenticity, a seal of authority, a promise. This ancient craft, the art of the wax seal, offers a direct link to that past, allowing us to imbue our own creations with a sense of permanence and legacy. It’s a stitch in time that truly lasts.
For the modern crusader of crafts, the reenactor, or the history enthusiast, mastering the wax seal is more than learning a new skill. It’s about reviving a tradition and adding a layer of unparalleled authenticity to your projects. Whether you’re sealing correspondence for your next reenactment event, authenticating a piece of custom leatherwork, or simply adding a touch of medieval gravitas to your personal journal, a wax seal transforms the ordinary into the extraordinary. This guide will walk you, the beginner, through the entire process, from selecting your first tools to pressing that perfect, crisp impression that speaks of history and honor.

Forging your mark: choosing your wax seal kit
Stepping into the world of wax sealing can feel like entering an alchemist’s workshop, with its myriad tools and colorful waxes. But fear not, for the path to mastery is straightforward. Your first task is to assemble your arsenal, and a good beginner’s kit is the perfect place to start. Understanding the components will help you choose wisely and begin your journey with confidence. A basic setup consists of three key elements: the stamp, the wax, and a heat source.

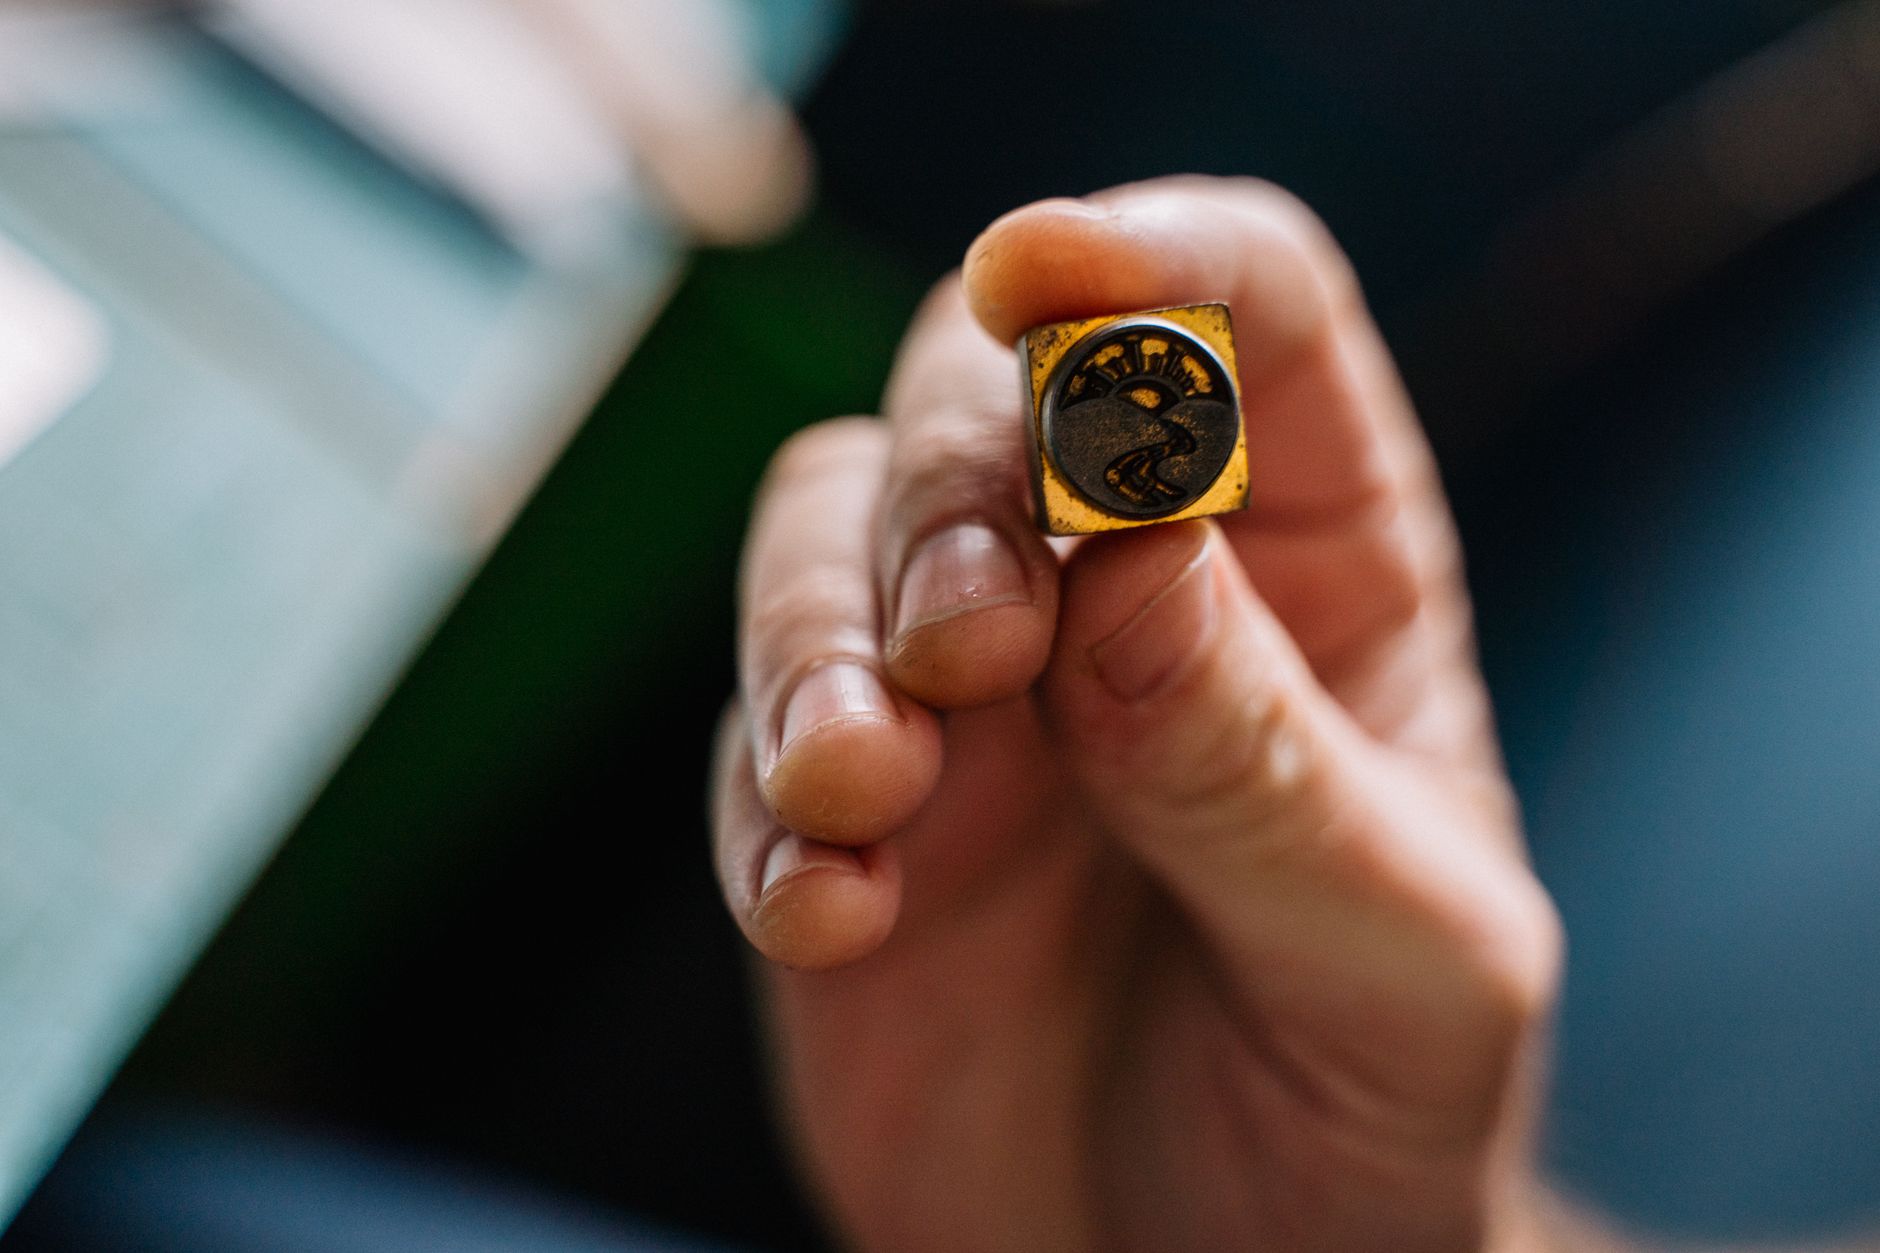
First, and most importantly, is the seal itself, often called a stamp. This is the tool that will leave your unique mark. The head is typically made of brass, a metal that cools efficiently and allows for a clean release from the wax. The handle can be wood, metal, or even stone, a matter of personal comfort and aesthetic. When choosing a design, you have two main options. You can begin with a pre-made design, and for enthusiasts like us, the choices are thrilling. Symbols like the Templar cross, the lion rampant, or a fleur-de-lis are widely available and instantly connect your work to the medieval era. Alternatively, you can commission a custom stamp. This is where you can truly forge your own legacy. Consider a design with your initials in a gothic script, a family crest, or a personal symbol that holds meaning for you. A custom stamp turns every impression into your personal signature, a mark of true craftsmanship.
Next is the wax. The vibrant sticks and beads are what give your seal its color and substance. Modern sealing wax is a durable, flexible mixture, a far cry from the brittle, old-world recipe, meaning your seals are less likely to crack in the mail. It comes in a few primary forms. The most traditional are wax sticks with an integrated wick, which you light like a candle and allow to drip onto your surface. While romantic, this method can sometimes leave soot in the wax. A more controlled option is wickless sticks, which you melt using an external heat source. The most popular choice for beginners, however, is wax beads. These small pellets allow for precise measurement, ensuring a consistently sized seal every time. They also make it easy to mix colors, creating stunning marbled effects. To use beads, you’ll need a melting spoon, a small, ladle-like tool that you hold over a flame.
Finally, you need a heat source. If you’re using a wickless stick or wax beads in a spoon, a simple tea light candle provides a gentle, consistent flame. It’s small, safe, and effective. Some crafters also opt for a specialty glue gun designed to melt wax sticks, which is a fast and clean method ideal for creating many seals at once. Whichever path you choose, remember to work on a heat-resistant surface like a ceramic tile or silicone mat to protect your workspace.
The scribe’s ritual: perfecting your sealing technique
With your tools assembled, it’s time to perform the ritual. The process of creating a wax seal is meditative and rewarding, but it requires a bit of practice to achieve a perfect impression every time. Follow these steps, and you’ll be creating seals worthy of a grand master in no time.

Step 1: Prepare your space. Lay down your heat-proof surface and gather your materials: stamp, wax, heat source, and the item you wish to seal (paper, card, or a tag). It’s also a good idea to have a damp cloth nearby. Some artisans like to chill their brass stamp on an ice pack or a cool stone before pressing. A cold stamp helps the wax set faster and gives a crisper impression, preventing the stamp from sticking.
Step 2: Melt the wax. This is the heart of the process. If you’re using wax beads, place 3-4 beads into your melting spoon (this is usually enough for a standard one-inch seal). Hold the spoon about an inch above the flame of your tea light. The wax will begin to melt from the bottom up. You can use a toothpick to gently stir it for an even consistency. You’re looking for a thick, honey-like texture. If it’s too thin and watery, it’s too hot and may result in a fragile seal with air bubbles. If you’re using a wickless stick, hold it over the flame and rotate it, allowing it to melt and drip onto your target.
Step 3: Pour the wax. Once your wax has reached the ideal consistency, it’s time for the pour. Bring your spoon or stick directly over the spot you want to seal. Pour the wax confidently and steadily into a small, circular pool, roughly the size of your stamp head. Don’t worry about creating a perfect circle; the stamp will take care of that.
Step 4: Make the impression. Take your (preferably cool) stamp and look down from directly above to center it over the pool of wax. Press it down firmly and evenly. Don’t wiggle it. Just hold it in place for 5-10 seconds. You’ll feel the wax begin to firm up beneath the stamp. This waiting period is crucial for allowing the design to set properly.
Step 5: The reveal. After a few seconds, the wax will have hardened enough. Gently lift the stamp straight up. If you’ve done everything correctly, you’ll be greeted by a beautiful, detailed impression. If the stamp sticks, it likely means either the wax was too hot or the stamp wasn’t cool enough. Let it sit for a few more seconds before trying again. Voila! You have created a timeless mark of authenticity.
Beyond the parchment: modern uses for a timeless craft
While the most classic use for a wax seal is on a letter or scroll, its potential extends far beyond mere correspondence. For the modern artisan steeped in historical aesthetics, the wax seal is a versatile tool of authentication and decoration. It’s a way to leave your personal, Templar-inspired mark on a wide variety of creations, elevating them from simple projects to cherished artifacts.
Think about the custom gear you create or collect. A handmade leather pouch, a scabbard, or a journal can be given a final mark of the maker by attaching a small cardstock tag bearing your custom wax seal. This not only adds a decorative flair but also functions as a craftsman’s signature, a guarantee of quality and personal effort, much like the guild marks of old. For reenactors, sending out invitations or announcements for an event sealed with a thematic stamp—like a Crusader cross—immediately sets the tone and builds anticipation.
The creative applications are nearly limitless. You can use seals to embellish gift wrapping, transforming a simple present into an experience before it’s even opened. Press a seal onto a ribbon wrapped around a bottle of mead or a box of goods. In your personal study or workshop, use seals to close envelopes containing research notes or to add a decorative touch to the first page of a new project journal. You can even create standalone tokens or charms. Simply pour the melted wax onto a silicone mat, make your impression, and once it’s cool, you can drill a small hole in it to create a pendant or keychain fob.
This is where a custom stamp truly shines. Imagine having a stamp with your initials or a symbol unique to your group or project. Every item you mark becomes part of a cohesive collection, bound by a shared identity. It’s a powerful way to build a personal brand, whether you’re a hobbyist or a professional artisan. The wax seal is not just a tool; it’s a statement. It says that you value tradition, that you believe in authenticity, and that you pour a piece of yourself into everything you create. It is, in the truest sense, your legacy, sealed in wax.


