Laying the groundwork: from ancient symbols to personal design
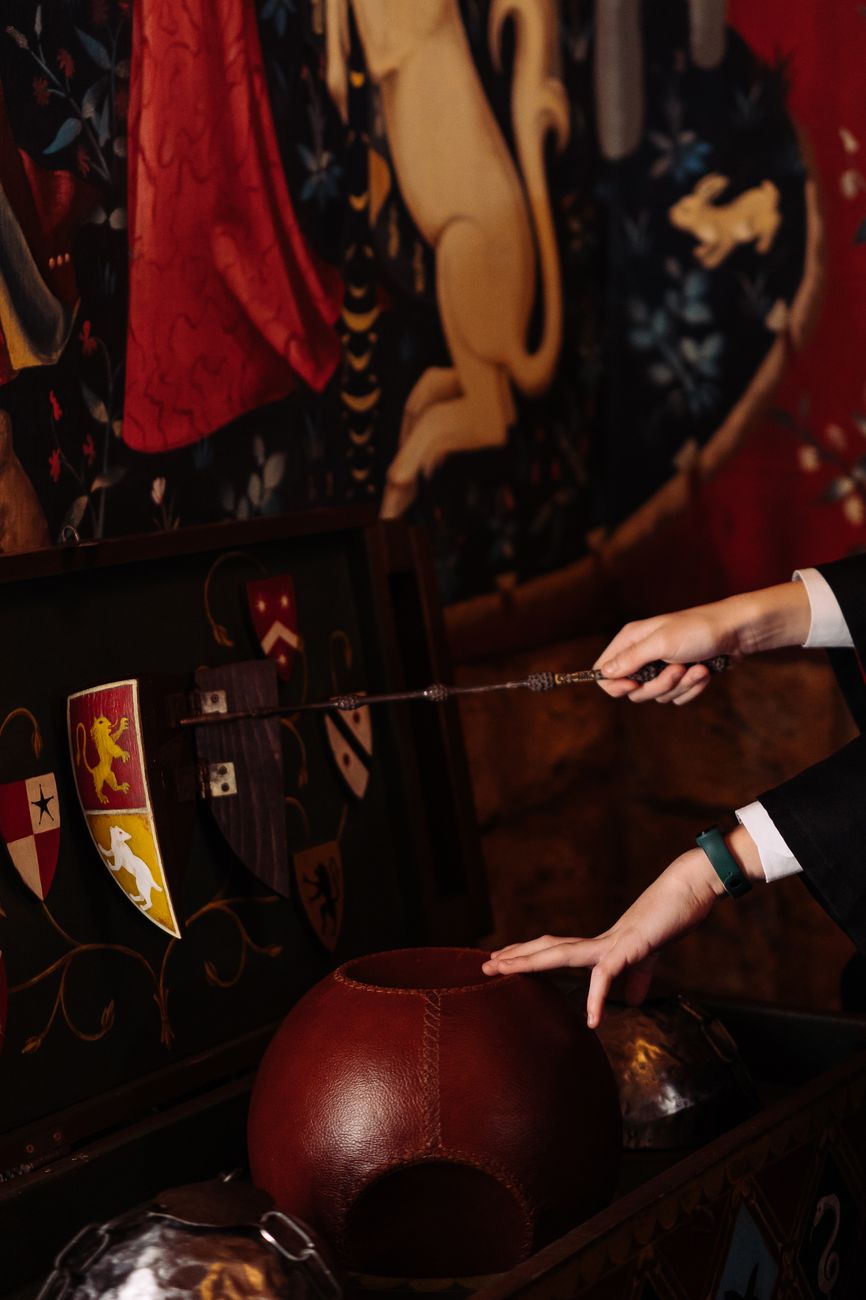
In the hallowed halls of history, the Knights Templar were identified not just by their iconic white mantles, but by the powerful symbols they bore. The red cross, a mark of martyrdom; the seal of two knights on a single horse, a testament to their vow of poverty; the Agnus Dei, the Lamb of God. These were not mere decorations; they were declarations of faith, purpose, and brotherhood. Today, for the modern Templar, historical reenactor, or enthusiast, a uniform is more than fabric—it’s a canvas for this legacy. Creating a custom engraved patch is a profound way to connect with this tradition, adding a personal chapter to an age-old story.
Before the first cut is ever made, the journey begins with two crucial choices: your material and your design. This foundation will dictate the look, feel, and longevity of your personal sigil.

Choosing your canvas: the primacy of leather
While patches can be embroidered or woven, for the kind of custom, hands-on creation we’re exploring, nothing surpasses vegetable-tanned leather. This is the same type of material that would have been used for armor, belts, and scabbards in the medieval period. Its appeal is threefold:
- Durability: Vegetable-tanned leather is tough and resilient. A well-made patch will withstand the rigors of wear, aging gracefully and developing a rich patina over time, much like a historical artifact.
- Workability: When properly prepared, this leather becomes a forgiving and expressive medium. It holds fine details from tooling and stamping, allowing for intricate and deeply personal designs.
- Authenticity: The feel, the smell, and the appearance of tooled leather instantly evoke a sense of history. It provides a tactile connection to the past that synthetic materials simply cannot replicate.
When selecting your leather, look for a piece of tooling shoulder or belly, typically between 5 and 7 ounces (2-2.8mm) in thickness. This provides enough depth for a good impression without being too bulky to stitch onto a mantle or surcoat.
Drafting your declaration: the art of the design
With your leather chosen, you must now decide what story it will tell. This is where you blend historical reverence with personal expression. Your design should be meaningful to you while respecting the traditions of the Order.
Consider these sources of inspiration:
- Historical Seals: Study the official seals of the Grand Masters or regional commanderies. The famous Sigillum Militum Xpisti (Seal of the Soldiers of Christ) is a classic starting point.
- Iconic Symbolism: The Cross Pattée is the most recognizable Templar symbol. You can use it as a centerpiece or a framing element. Other potent symbols include the Lion of Judah, the Lamb of God, or even architectural elements from Templar churches.
- Mottos and Text: Incorporating a motto can add a powerful layer of meaning. Phrases like “Non Nobis Domine, Non Nobis, Sed Nomini Tuo Da Gloriam” (Not to us, Lord, not to us, but to your name give the glory) are deeply resonant. When planning for text, choose a simple, bold font that will be clear and legible once carved.
- Personal Elements: Perhaps you wish to include the initials of your commandery, a symbol for your region, or a personal device that reflects your own journey. The key is to integrate these elements harmoniously with the traditional Templar aesthetic.
Once you have a concept, sketch it on paper first. Refine it until the lines are clean and the composition is balanced. A good design for leather tooling avoids overly complex, tiny details and favors bold lines and clear shapes. When your design is finalized, you can transfer it onto a slightly dampened piece of leather using a stylus and transfer paper, gently tracing the lines to create a faint impression that will guide your knife.
The art of the cut: a step-by-step engraving guide
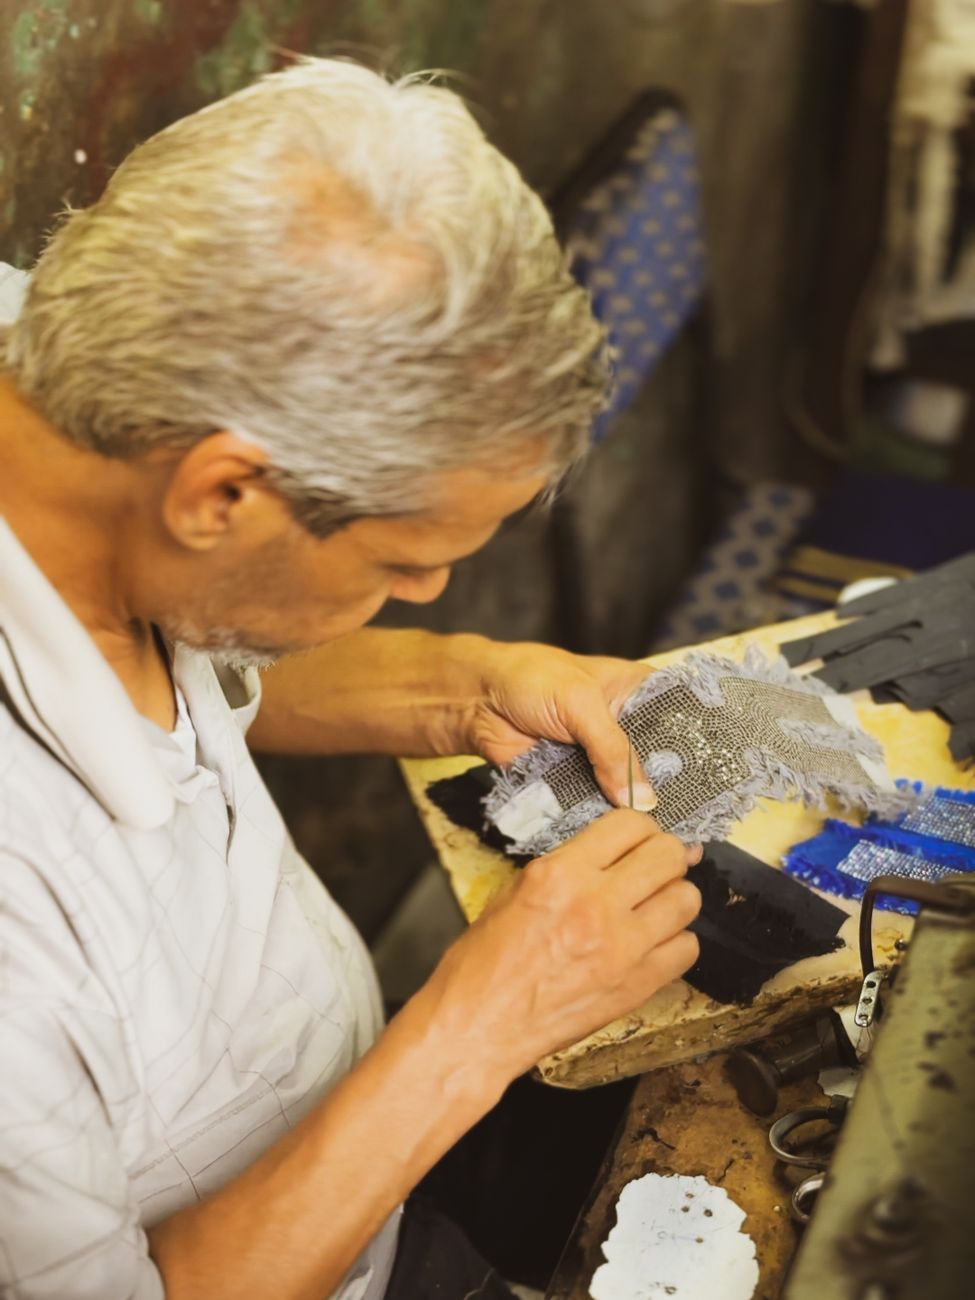
This is where your vision begins to take physical form. Leather tooling is a meditative craft that rewards patience and a steady hand. Whether you choose traditional hand tools or modern implements, the goal is the same: to give your design depth, dimension, and character. For the most authentic experience, we will focus on the timeless art of hand tooling.
First, gather your essential tools:
- Swivel Knife: This is your primary drawing tool. The U-shaped yoke allows you to steer the blade with your fingertip, creating fluid, curved cuts.
- Beveler: A stamping tool with an angled face, used to press down the leather along one side of a cut line, making the other side appear raised.
- Background Tool: A stamp with a textured face (often a series of small dots or cross-hatches) used to press down the background areas, creating contrast and making your main design pop.
- Mallet: A rawhide, wood, or poly mallet is used to strike the stamps. Never use a metal hammer, as it will damage your tools.
- Hard Surface: A granite or marble slab provides a solid, unyielding surface for tooling, ensuring every mallet strike transfers its full force into the leather.
The engraving process, step by step
1. Casing the Leather: Before you can work the leather, it must be properly cased, or moistened. Using a sponge or spray bottle, apply clean, cool water evenly to the grain (smooth) side of your leather patch. Let the water soak in until the leather returns to its near-original color but feels cool to the touch. This makes the fibers pliable and ready to accept an impression.
2. Cutting the Outlines: Take your swivel knife, holding the barrel between your thumb and middle fingers and placing your index finger in the yoke. With firm, even pressure, trace all the lines of your transferred design. The goal is to cut about halfway through the thickness of the leather. Aim for smooth, continuous lines. This initial cut creates the boundaries for all subsequent tooling.
3. Beveling for Depth: This is the most transformative step. Select a beveler stamp appropriate for the lines you are working on (they come in many shapes and sizes). Place the angled toe of the tool directly in your cut line, with the tool held perfectly vertical. Strike it firmly with your mallet. Move the tool slightly along the line, overlapping the previous impression by about half, and strike again. As you work your way around the design, you will see it begin to lift from the background, creating a three-dimensional effect.
4. Texturing the Background: To create maximum contrast, the background areas need to be recessed and textured. Choose your background tool and, just as with the beveler, strike it vertically to press the leather down. Work methodically to fill in all the negative space around your central design. This painstaking process is what truly isolates your artwork and makes it the focal point of the patch.
5. Adding Final Details: Use other decorative stamps, shaders, or even the tip of your swivel knife to add fine details. This could be veins in a leaf, texture on a lion’s mane, or shading within the folds of a cross. This is your final opportunity to add personality before you move on to dyeing and finishing.
Throughout this process, work slowly and deliberately. If the leather starts to dry out, you can re-moisten it lightly with a sponge. Remember, every mark you make is permanent, a testament to the care you invested in its creation.
Sealing the legend: finishing and attaching your patch
Your patch is now carved, a beautiful but vulnerable piece of raw leather. The final stage is to protect your work, enhance its details with color, and prepare it for its place of honor on your uniform. This finishing process not only seals the leather from the elements but also brings your engraving to life.
Bringing color and age to your creation

The first step in finishing is often dyeing or staining. This is where you can truly capture a historical aesthetic. While you can leave the leather its natural color, adding dye deepens the visual impact.
- Applying Dye: Choose a high-quality leather dye in a color that suits your uniform. Traditional choices include deep reds, black, or rich browns. Apply the dye evenly using a wool dauber or soft cloth, working in smooth, circular motions. Apply a second coat if you desire a darker, more uniform color. Let it dry completely, which can take several hours.
- Antiquing for Contrast: This is a key technique for making your tooling stand out. Apply an antique paste or gel (often in a darker shade like black or dark brown) liberally over the entire surface of the patch, making sure it gets into every cut and tool impression. Immediately, before it dries, wipe the excess off the raised surfaces with a clean, soft cloth or paper towel. The antique will remain in the recessed areas, creating dramatic shadows that highlight every detail of your work.
Protecting your handiwork
Once the dye and antique are fully dry (allow at least 24 hours), you must apply a top coat or sealant. This is a non-negotiable step that protects the leather from moisture, dirt, and scuffs, ensuring your patch lasts for years.
A clear acrylic finish like Resolene is a popular choice. Apply a thin, even coat and let it dry. It will provide a durable, water-resistant seal with a slight sheen. For a more traditional, satin finish, you can use a beeswax-based conditioner or a simple wax polish, buffing it to a gentle luster.
Attaching your sigil
The final act is to affix your patch to your mantle, surcoat, or gear bag. The method you choose should befit the craftsmanship you’ve invested.
- Saddle Stitching: The most authentic and durable method is to hand-sew the patch on using a saddle stitch. Pre-punch your stitching holes around the perimeter of the patch for a neat and even result. Use a heavy, waxed linen or polyester thread that complements the color of your leather and fabric. This method is incredibly strong and looks perfectly historical.
- Rivets: For a more rugged look, especially on a leather bag or belt, small metal rivets can be used. They provide a secure attachment and add to the medieval aesthetic.
- Modern Alternatives: While less traditional, high-bond adhesives or a sew-on Velcro backing can be used for practicality, allowing the patch to be moved between different garments.
With your patch securely in place, you have done more than create an accessory. You have engaged in a historical craft, meditated on the symbols of the Order, and forged a personal sigil. Every time you wear it, you carry not just a piece of leather, but a piece of a legend you helped to stitch into the present day.


